Gas line underground installation is one of the most regulated and safety-critical tasks in residential and commercial construction — and for good reason. A single mistake can mean failed inspections, costly rework, or a dangerous gas leak.
Here is a quick overview of how it works:
Getting every one of these steps right is what separates a project that passes first inspection from one that doesn't.
Underground gas work is not where you cut corners. The stakes are high, the codes are strict, and the margin for error is essentially zero. Whether you're running a line to a generator, an outdoor kitchen, or a new building service, the process demands careful planning, the right materials, and precise execution from trench to tie-in.
I'm Don Larsen, and through my work at RBC Utilities, Inc. — where we've built underground utility systems across the Carolinas since 2008 — I've seen what separates clean, code-compliant gas line underground installations from the ones that cost developers time and money. This guide walks you through everything you need to get it done right the first time.

Gas line underground installation further reading:
When it comes to burying a utility that carries highly flammable pressurized gas, the rulebook is your best friend. In the Carolinas, we operate under strict state-specific codes that build upon federal safety baselines. Navigating these rules is essential to ensure your project is both safe and legal.
To begin with, federal minimum standards established under 49 CFR § 192.361 - Service lines: Installation. | Electronic Code of Federal Regulations (e-CFR) | US Law | LII / Legal Information Institute dictate that buried service lines must have a minimum of 12 inches of cover on private property and 18 inches of cover in public streets and roads.
However, local building codes often require even greater protection. For instance, the CHAPTER 4 GAS PIPING INSTALLATIONS (North Carolina Fuel Gas Code) and the Chapter 4 Gas Piping Installations: South Carolina Fuel ... - UpCodes specify that:
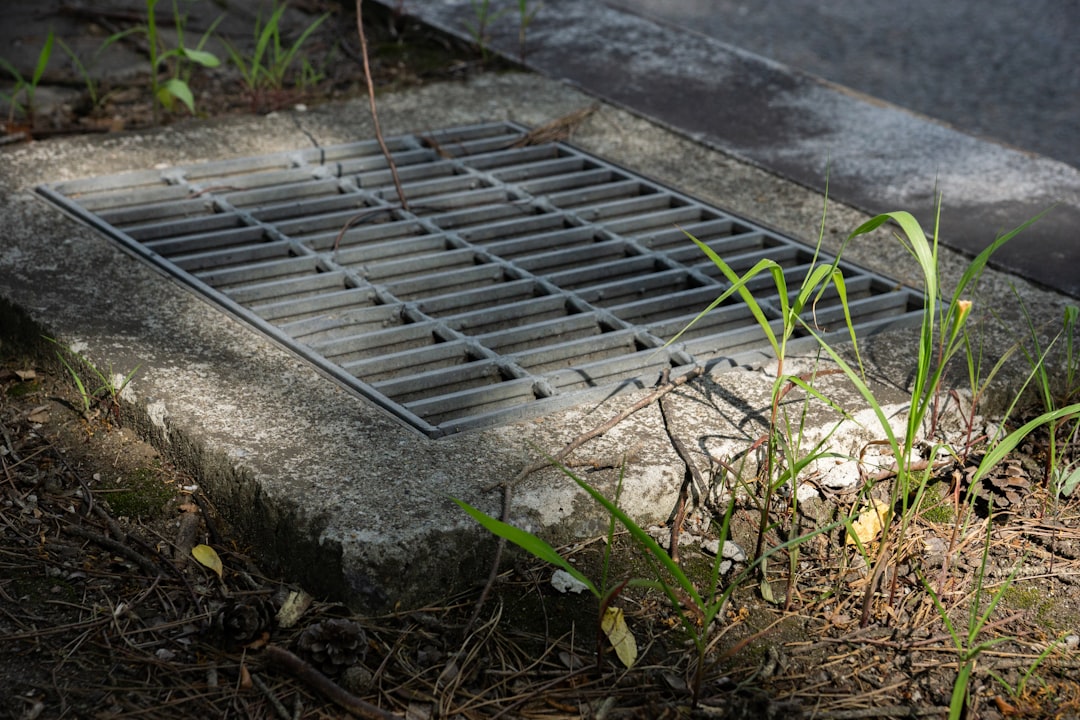
These depth requirements exist to protect the lines from surface impacts, landscaping activities, and soil erosion. If you are crossing a driveway or an area subject to heavy vehicular traffic, we strongly recommend burying the lines even deeper (often 24 to 36 inches) or encasing them in a protective steel sleeve to prevent damage from external loads.
As we continue to see rapid Underground Infrastructure Expansion Carolinas projects across Charlotte, Raleigh, and upstate South Carolina, staying compliant with these regional code updates is non-negotiable for any commercial or residential development.
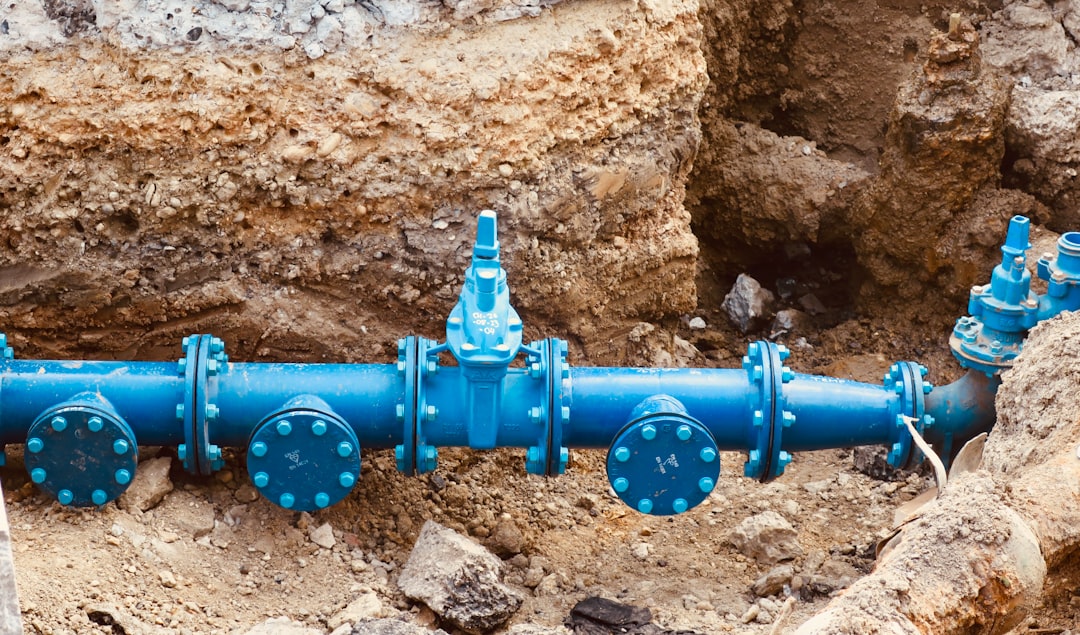
Choosing the wrong material for an underground run is a recipe for disaster. For example, using standard white PVC irrigation pipe for gas is a major code violation and incredibly dangerous; hydrocarbons cause PVC to become brittle over time, eventually leading to catastrophic failure.
For modern installations, three primary materials dominate the market. Each has a specific, code-defined role:
| Material Feature | Polyethylene (PE) | Black Iron (Steel) | CSST (Corrugated Stainless Steel) |
|---|---|---|---|
| Primary Use | Underground (Exterior Only) | Above-ground / Interior Structural | Interior Routing / Appliance Connections |
| Corrosion Resistance | Excellent (Immune to soil corrosion) | Poor (Requires protective wrapping/coatings) | Good (But requires heavy protection if buried) |
| Flexibility | High (Can negotiate curves easily) | Rigid (Requires threaded or welded elbows) | High (Bends easily around framing) |
| Underground Joints | Allowed (Heat fusion or mechanical) | Allowed (Welded or wrapped threaded) | Avoided (Must be continuous or in sleeve) |
| Relative Cost | Low | Medium | High |
One of the most rigid rules in the International Fuel Gas Code (IFGC) and Uniform Plumbing Code (UPC) is this: Polyethylene (PE) gas pipe must never be run inside or directly under a building slab.
Why does this rule exist? Plastic pipe has a much lower resistance to physical damage, shear forces, and high temperatures than metallic pipe. If a leak occurs under a solid concrete slab or inside a crawlspace, gas can accumulate in confined spaces, creating a massive explosion hazard.
If a gas line must run beneath a building or a poured concrete patio, code requires it to be encased in a gas-tight conduit. This conduit must:
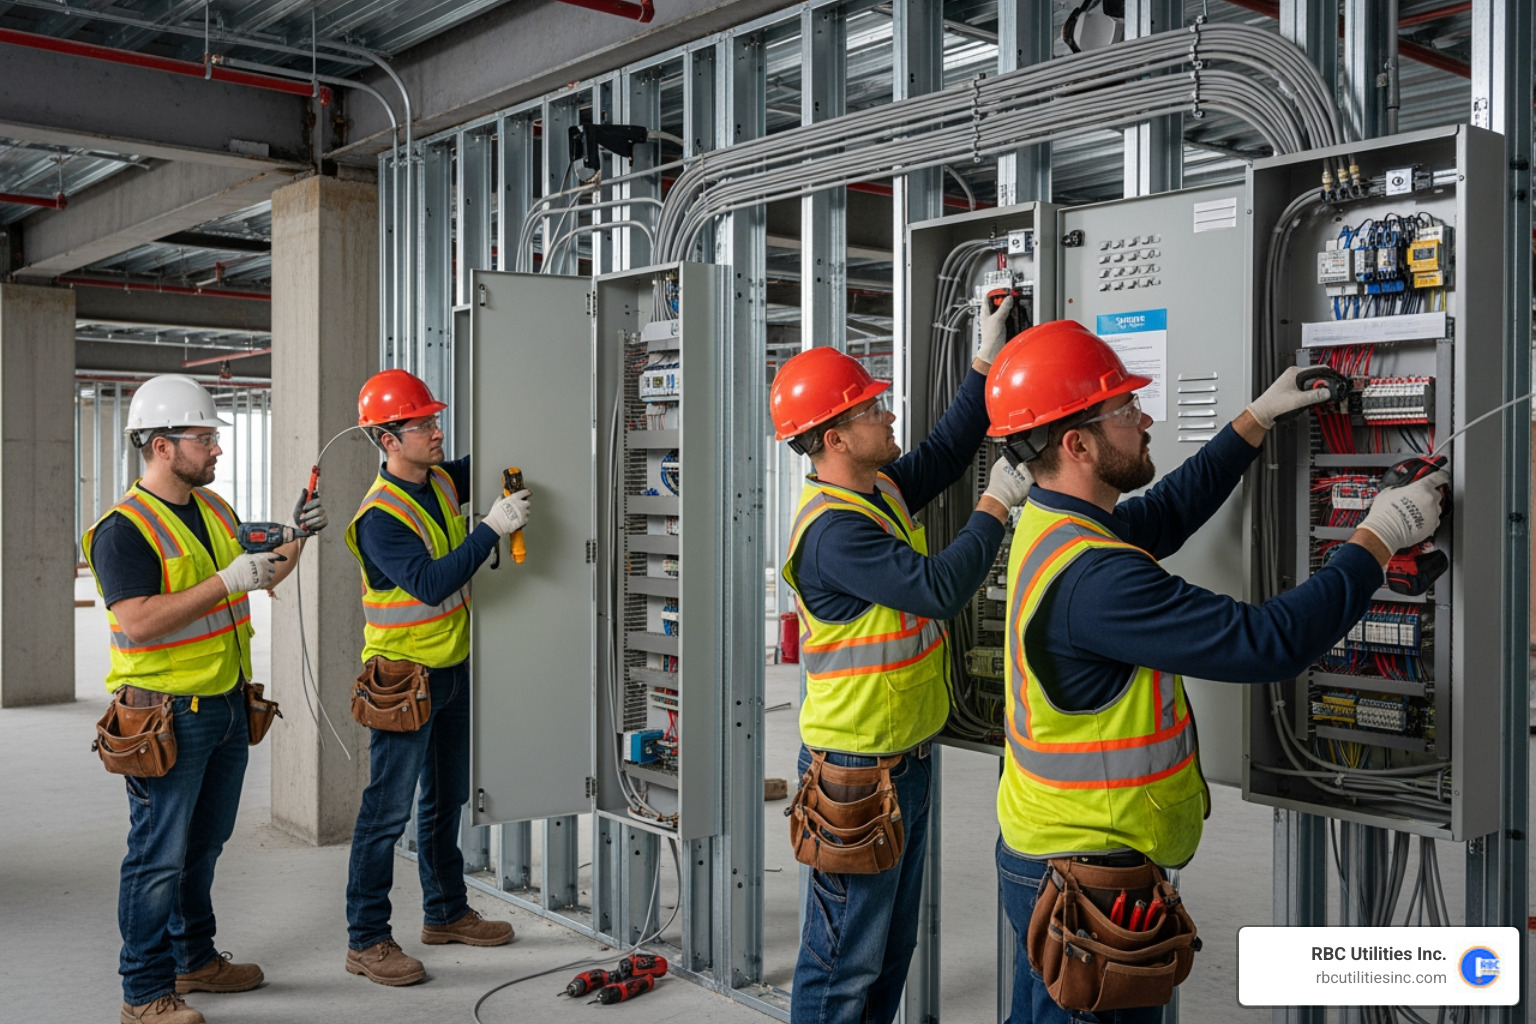
Before a single shovel touches the dirt, a successful project requires meticulous planning. You must design the system on paper, calculate the fuel demands of your appliances, and secure the necessary legal approvals.

At RBC Utilities, we coordinate every phase of the process, from initial routing schematics to final municipal approvals. If you are managing a larger development, partnering with professional Utility Line Installation Services ensures that your gas distribution network is fully integrated with other underground utilities without conflict.
Sizing a gas line is not about guessing; it is a precise mathematical calculation based on the total volume of gas your appliances require. Gas demand is measured in British Thermal Units per Hour (BTUH) or Cubic Feet per Hour (CFH). To convert BTUH to CFH for natural gas, simply divide the total BTUH by 1,000 (since 1 CF of natural gas contains roughly 1,000 BTUs of energy).
To size the line correctly, you must use the Longest Length Method:
If your pipe is too small, your appliances will be starved of fuel, leading to improper combustion, equipment damage, or system shutdowns when multiple appliances try to run at the same time.
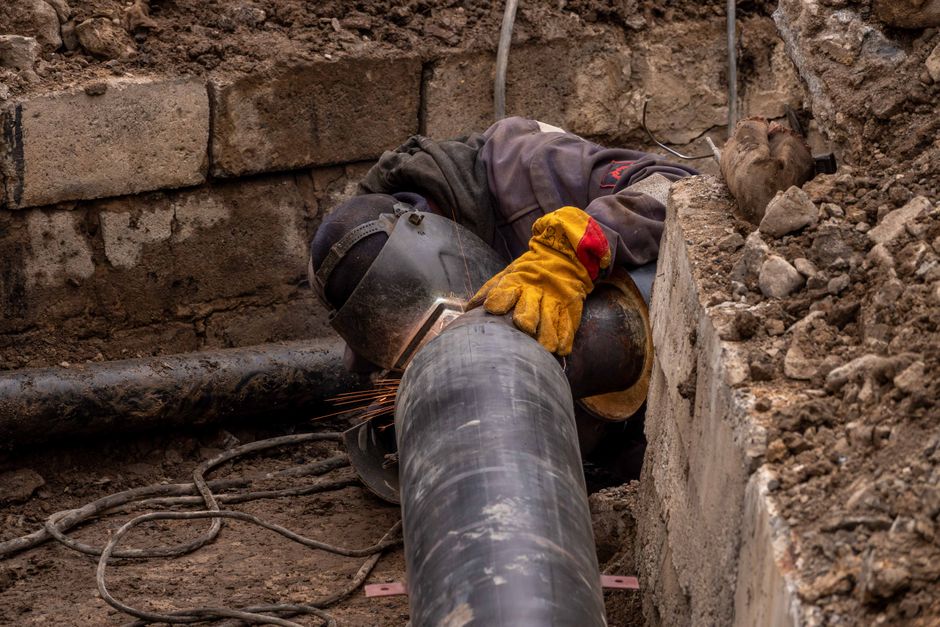
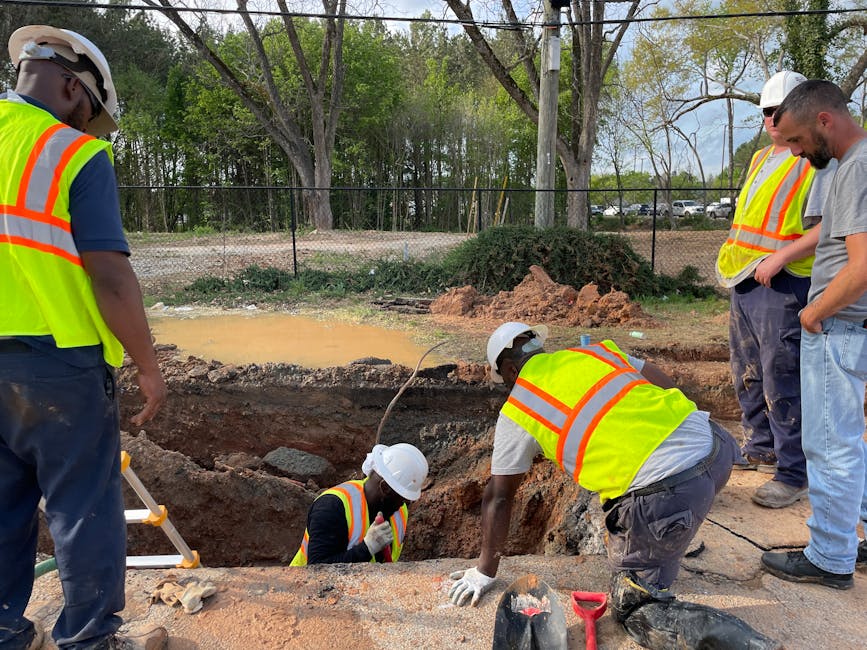
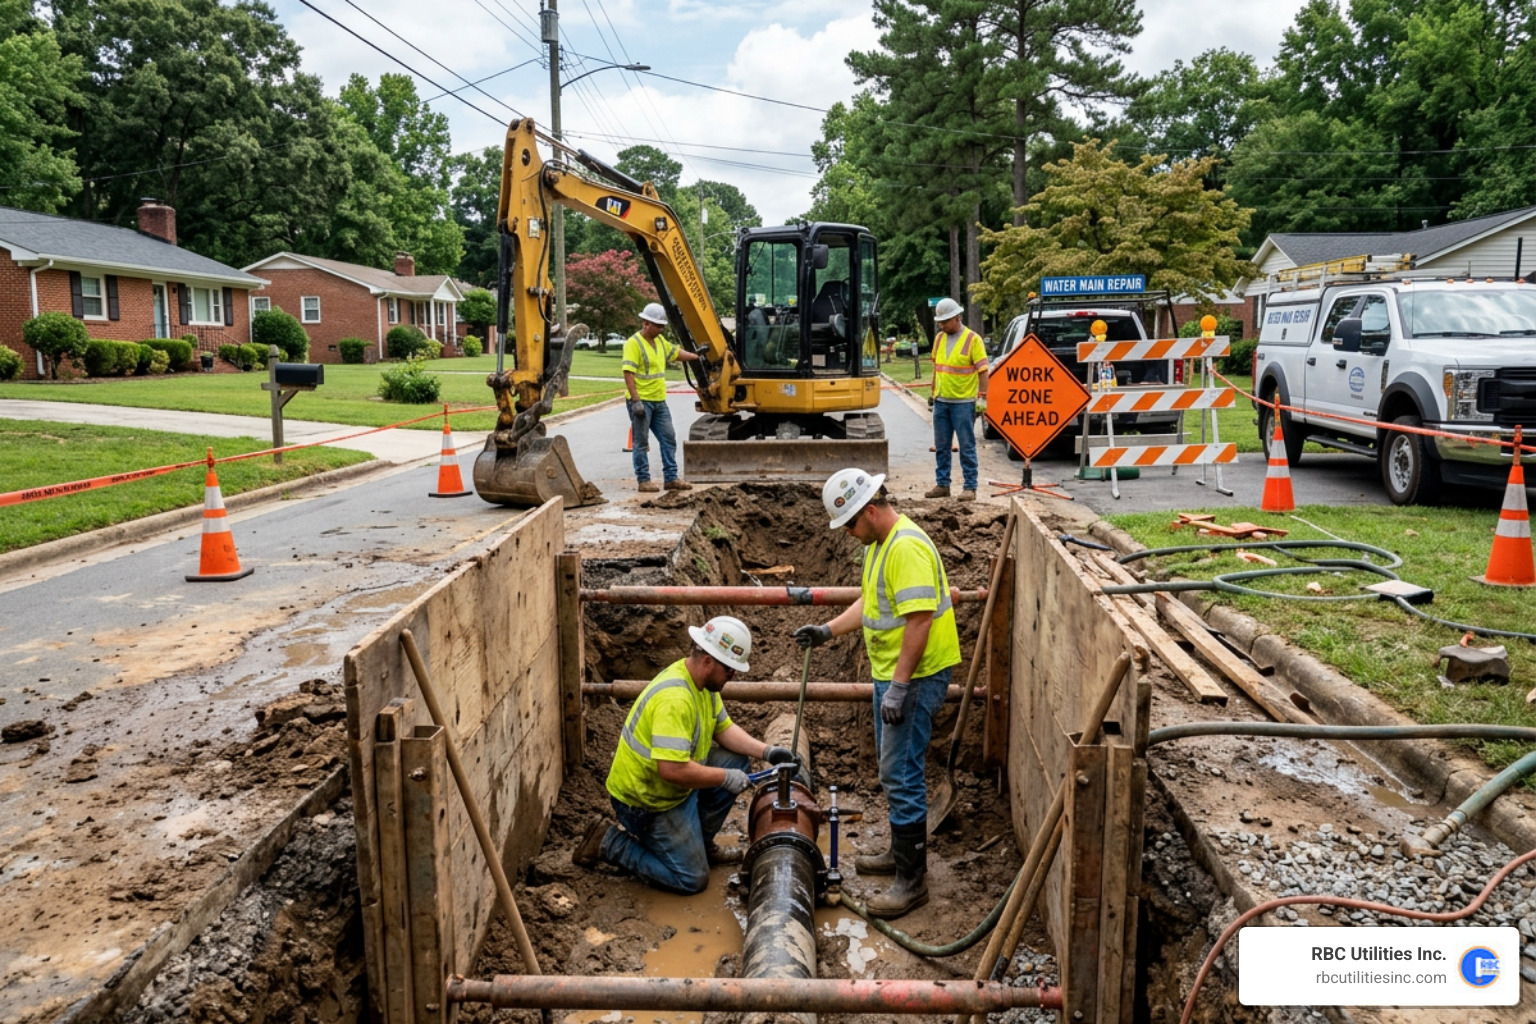
In Charlotte, NC, and surrounding areas, you cannot legally install or alter a gas line without a plumbing or gas permit. Once the line is laid in the trench but before it is covered with dirt, it must pass a rigorous pressure test witnessed by a local municipal inspector.
The standard residential pressure testing procedure involves:
Only after the local inspector signs off on this "rough-in" or "underground" inspection can you proceed with backfilling the trench.
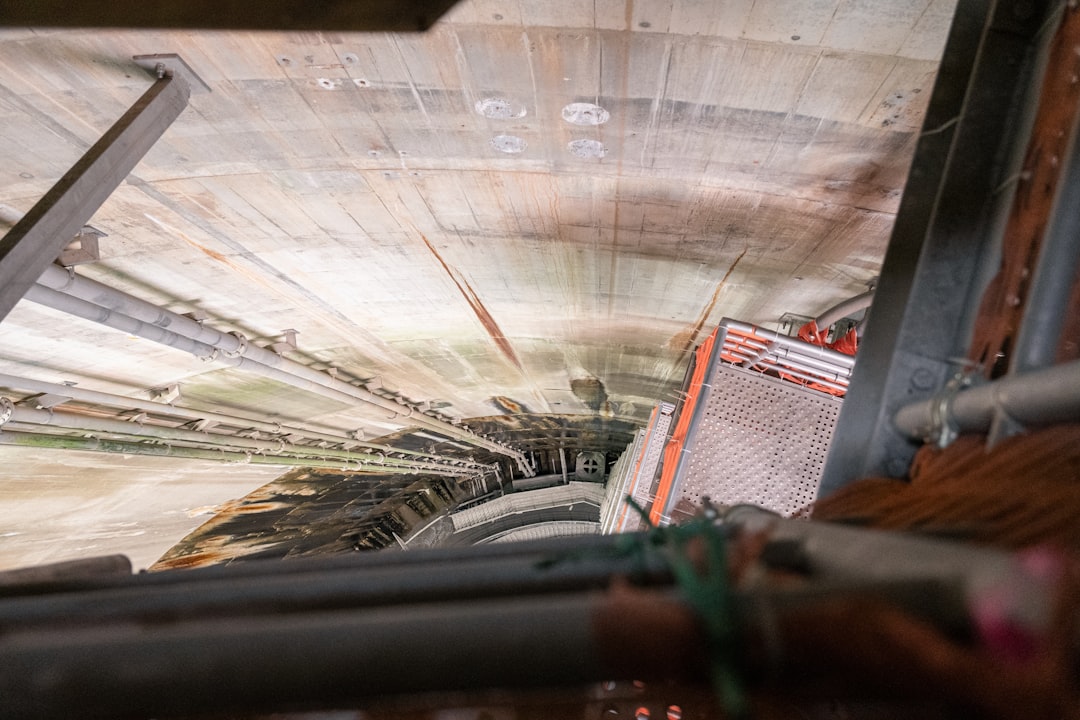
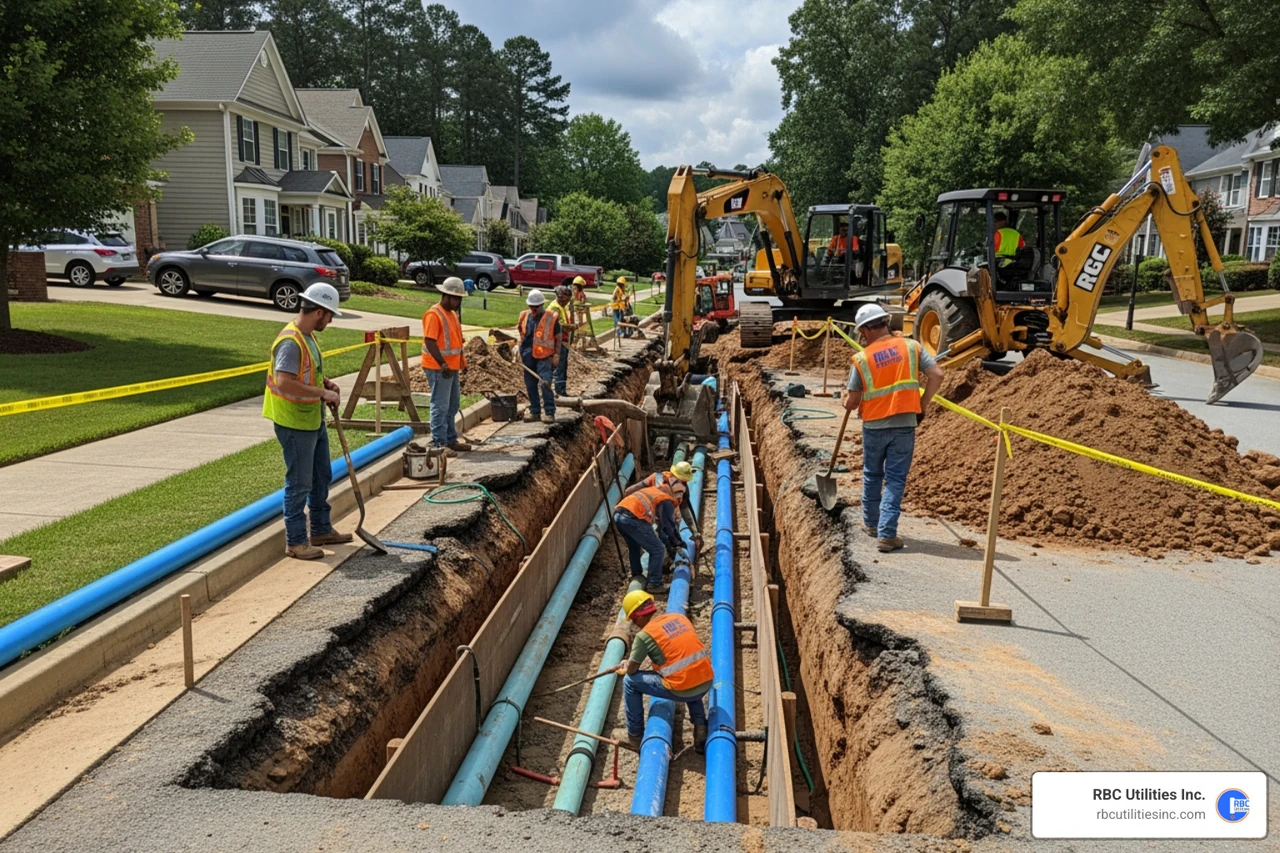
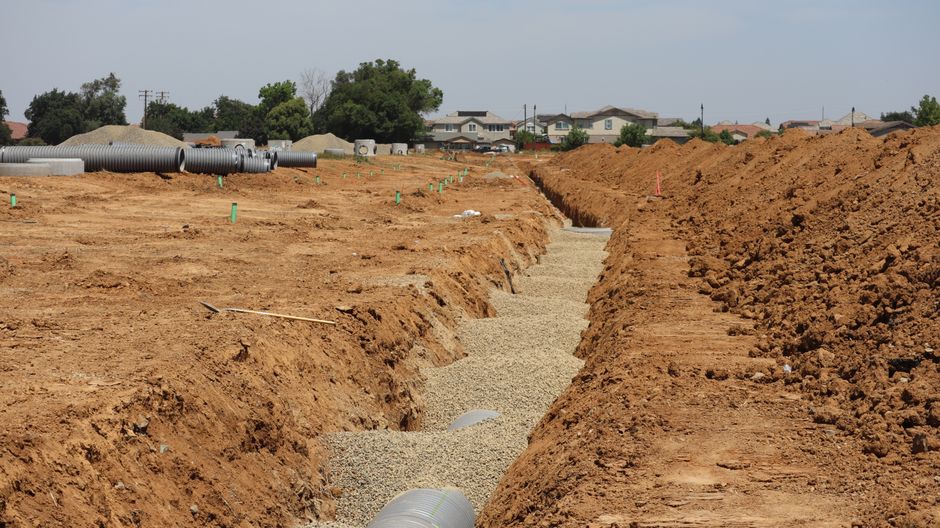
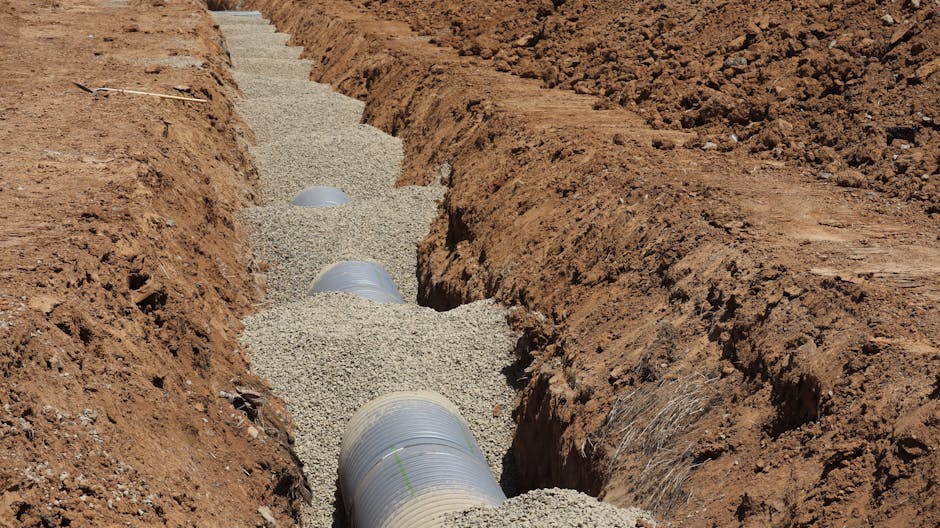
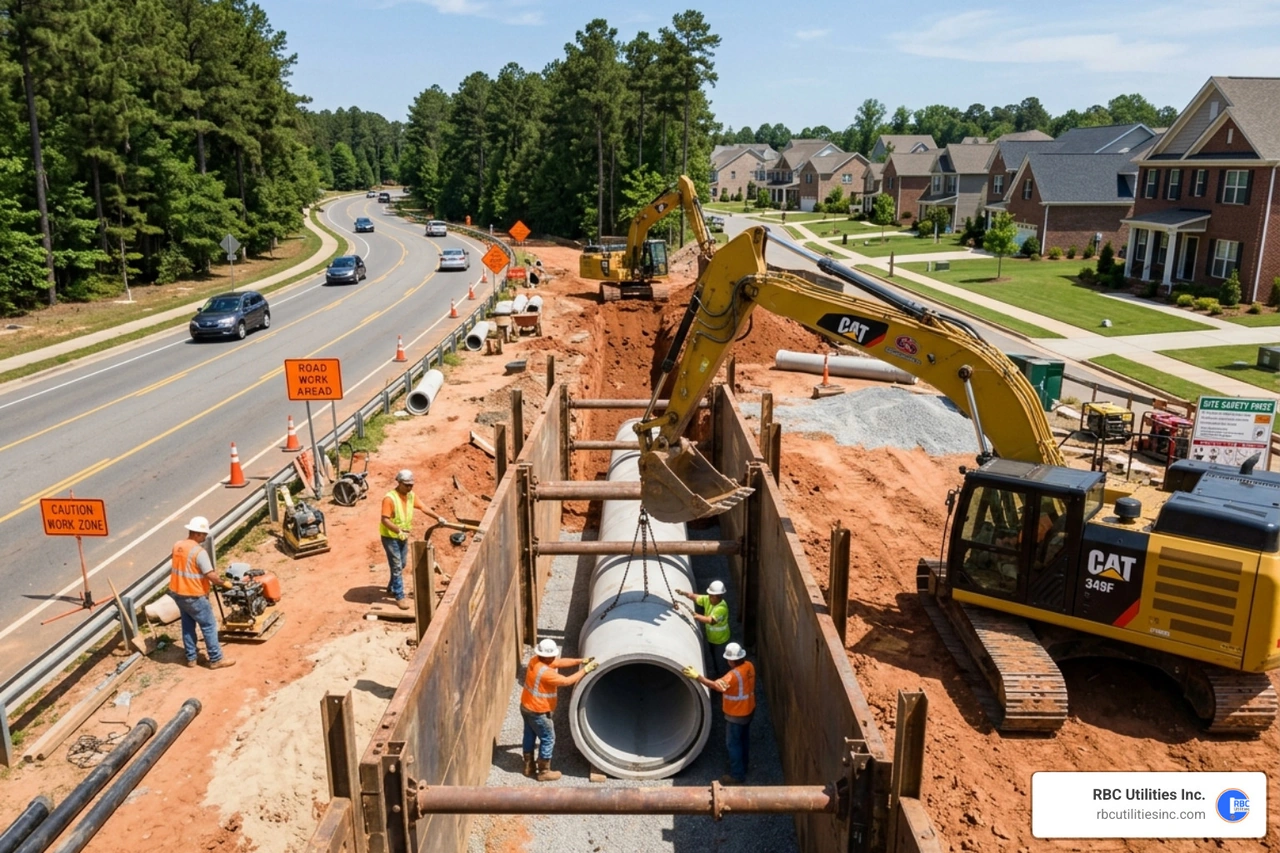
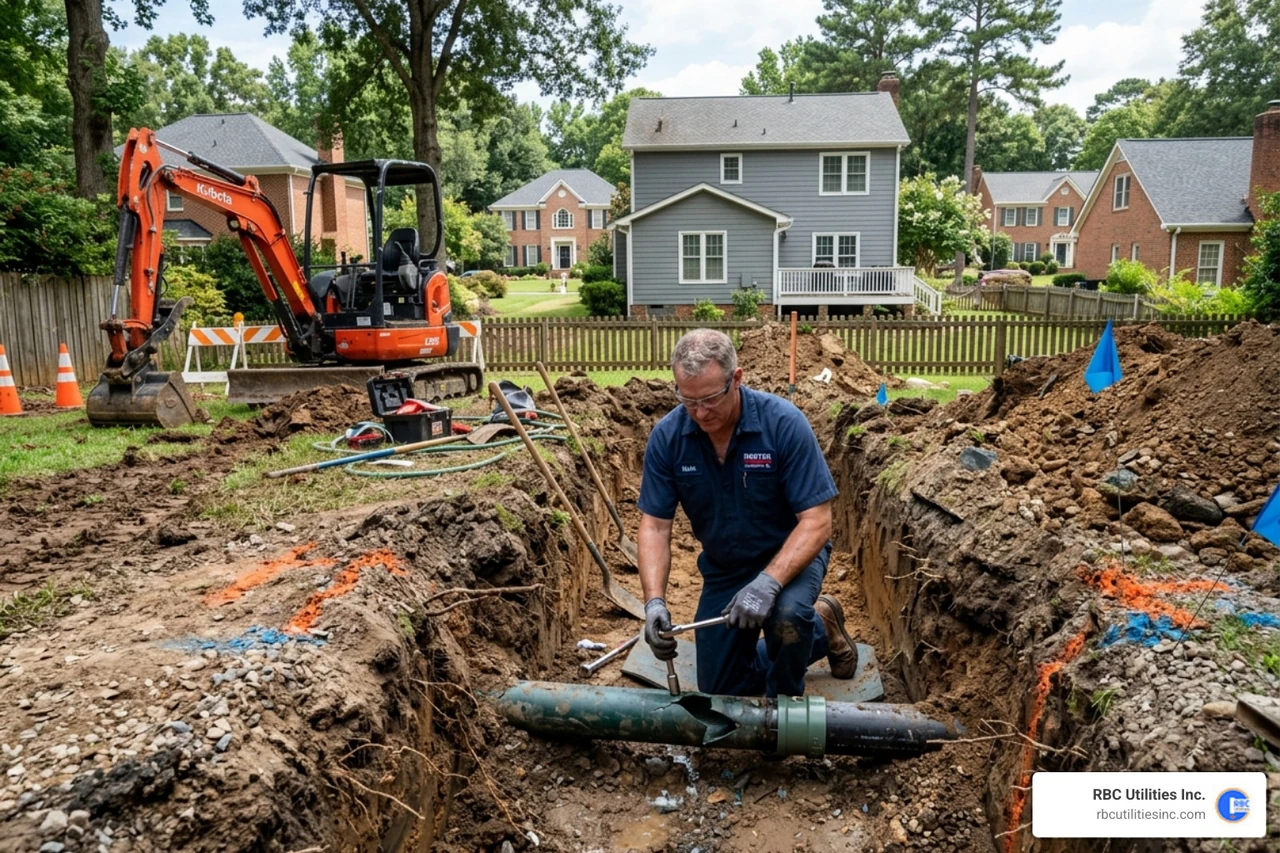
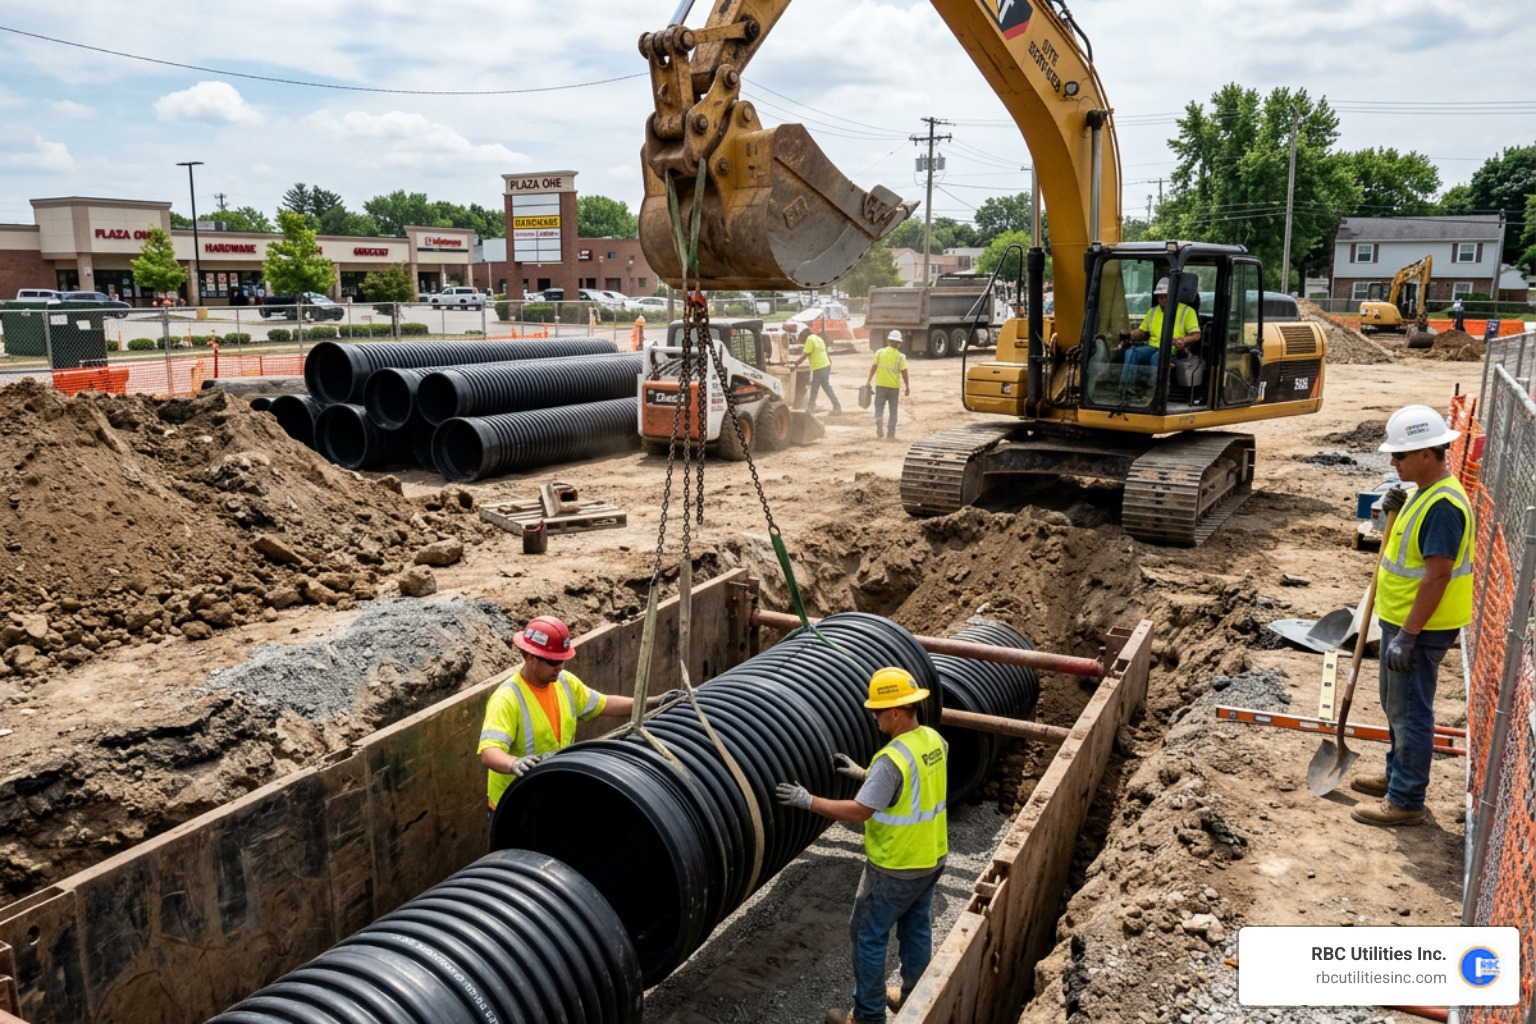
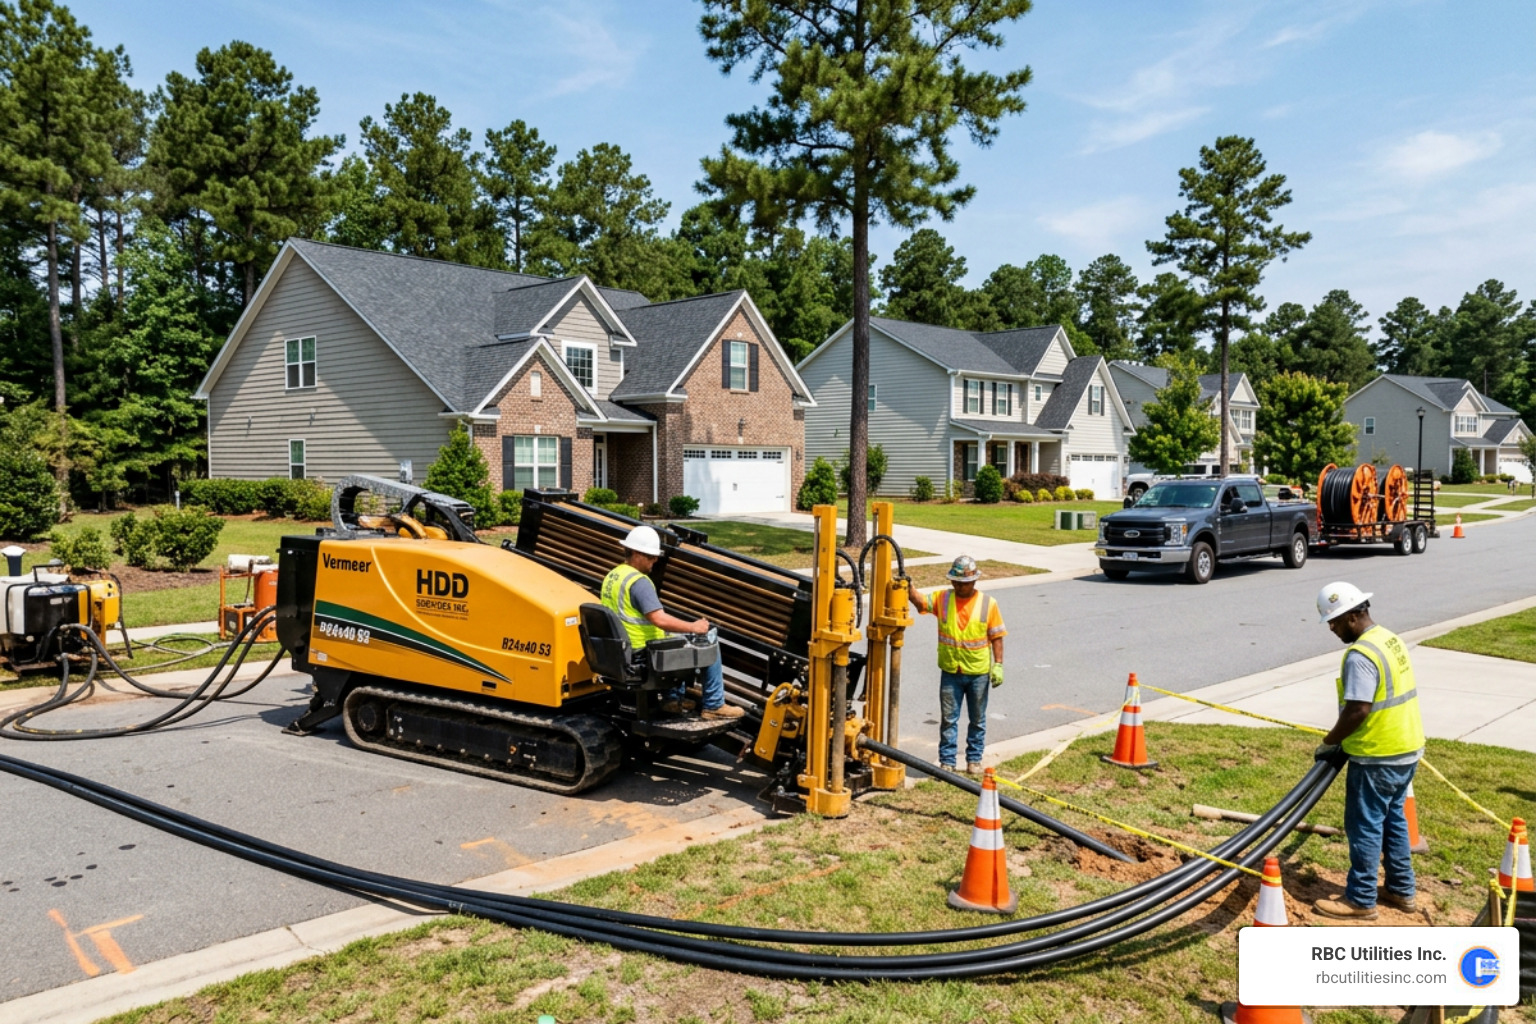
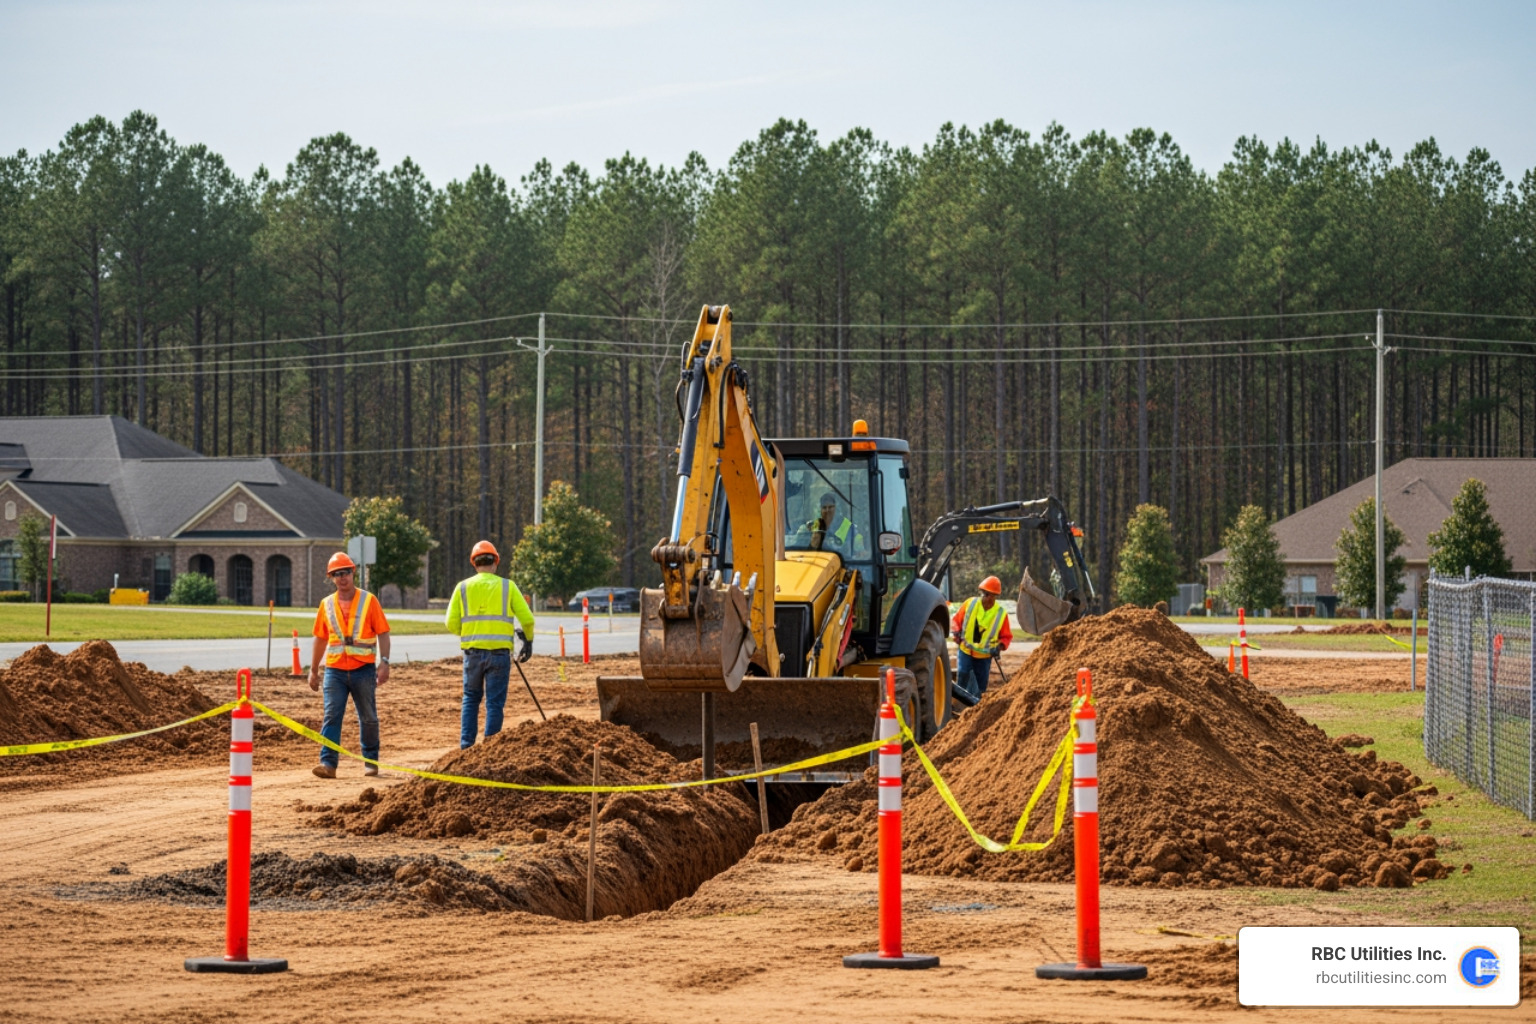
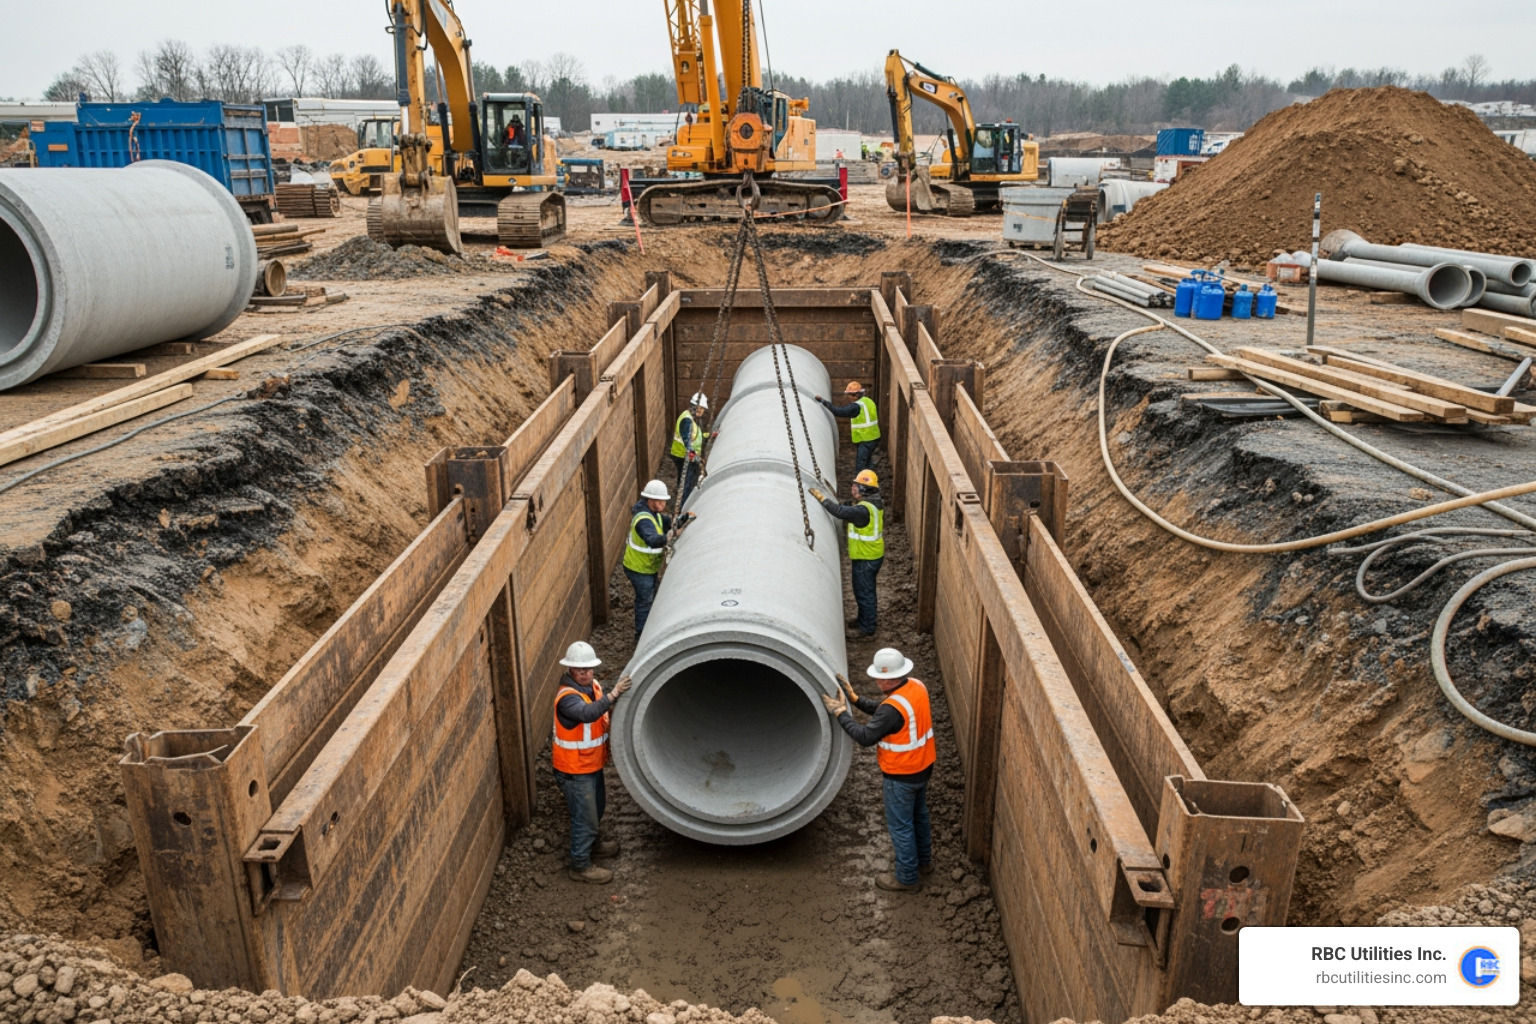
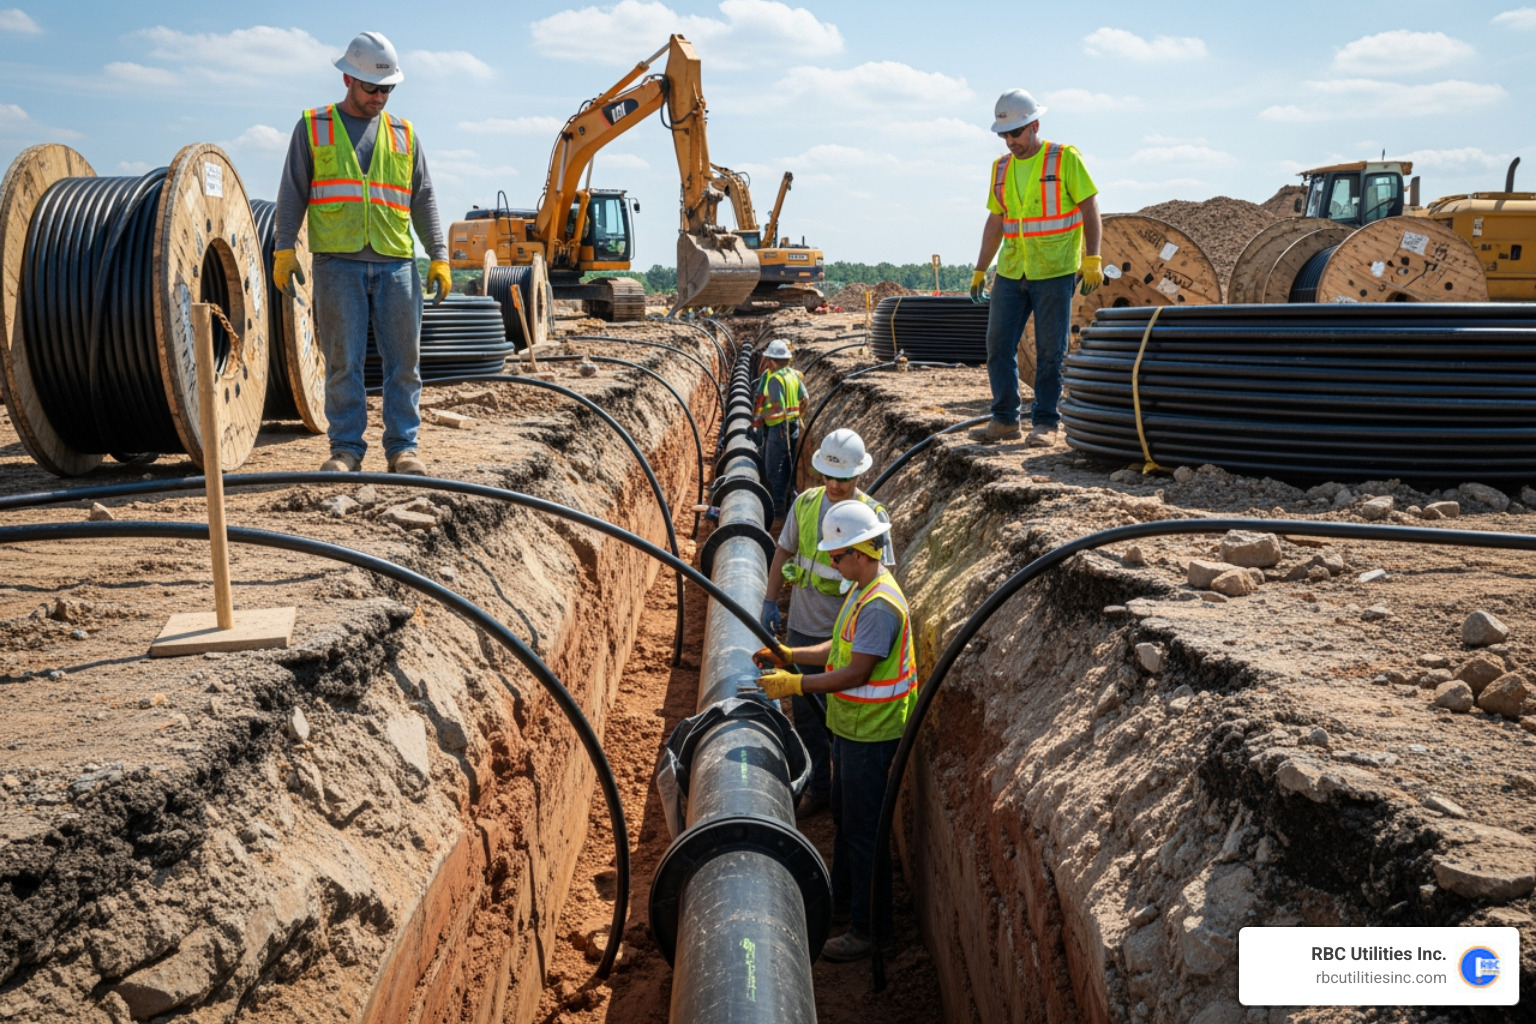
The physical installation of the pipe is where many DIYers and inexperienced contractors run into trouble. Soil conditions, trench preparation, and backfill techniques play a massive role in the long-term reliability of your gas line.

When we handle Underground Utility Installation NC projects, we pay close attention to local soil profiles. The clay-heavy soils common in the Piedmont region of North Carolina can contain sharp rocks and debris that can easily puncture or pinch flexible plastic pipes if the trench is not prepared correctly.
To ensure a flawless installation, follow this step-by-step methodology:
For highly detailed technical specifications regarding utility clearances and protective sleeves, refer to the industry-standard SPECIFICATION: G-8100-18a .
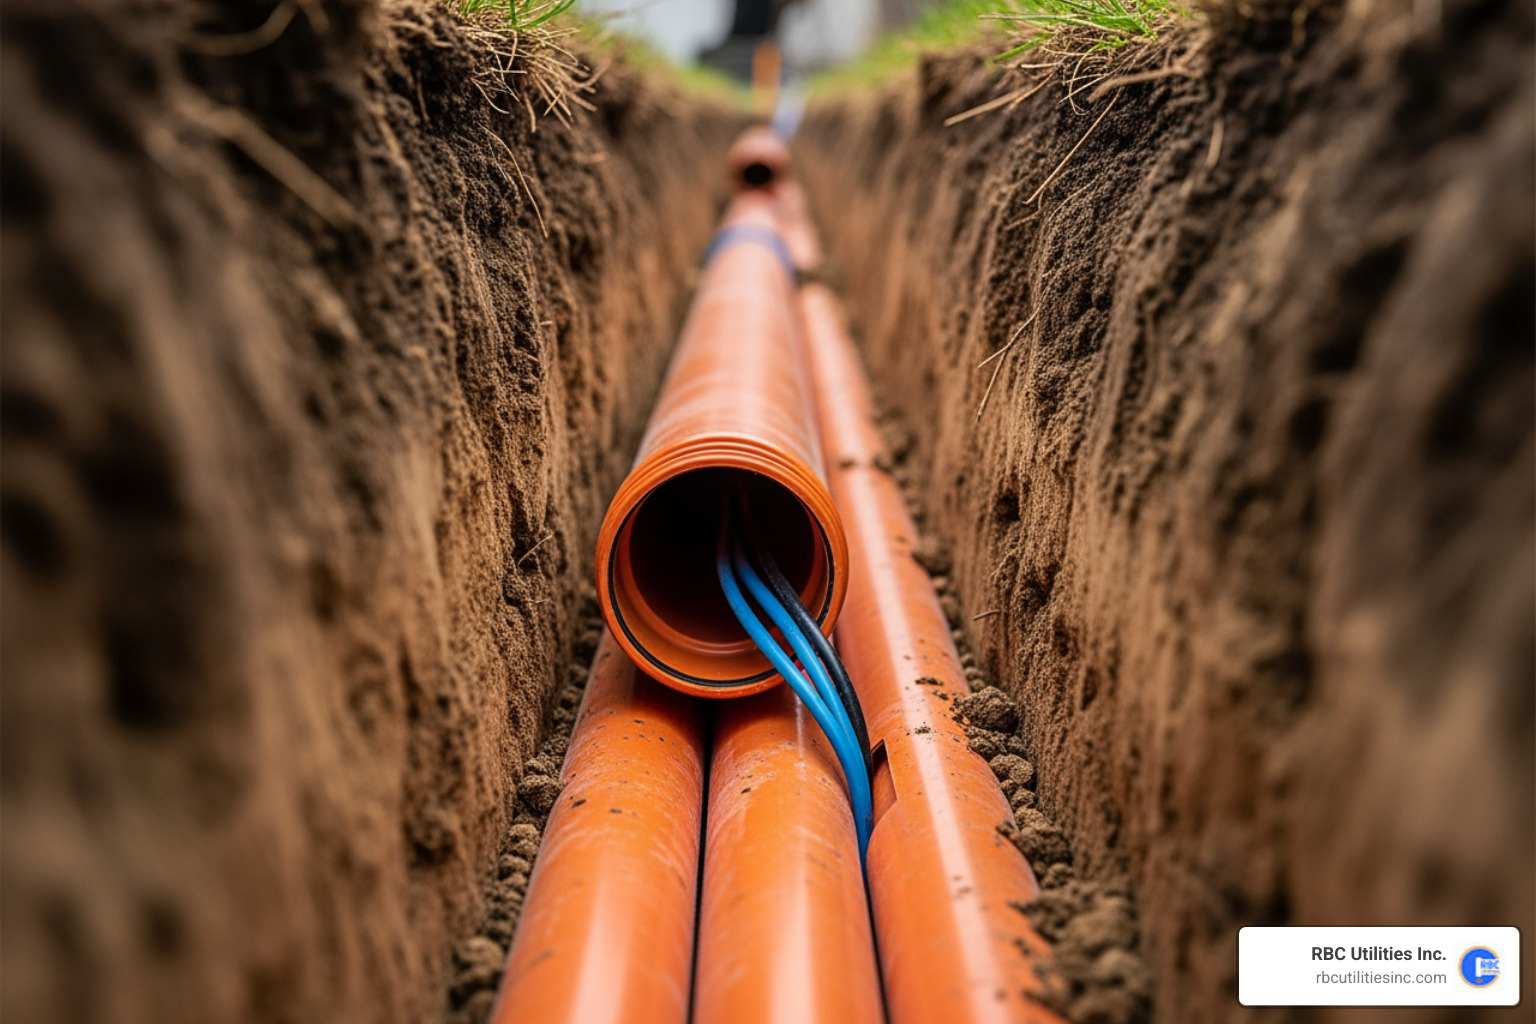
Plastic PE pipe must never emerge from the ground. UV rays from the sun will degrade the plastic, and weed-whackers or lawnmowers can easily slice through it.
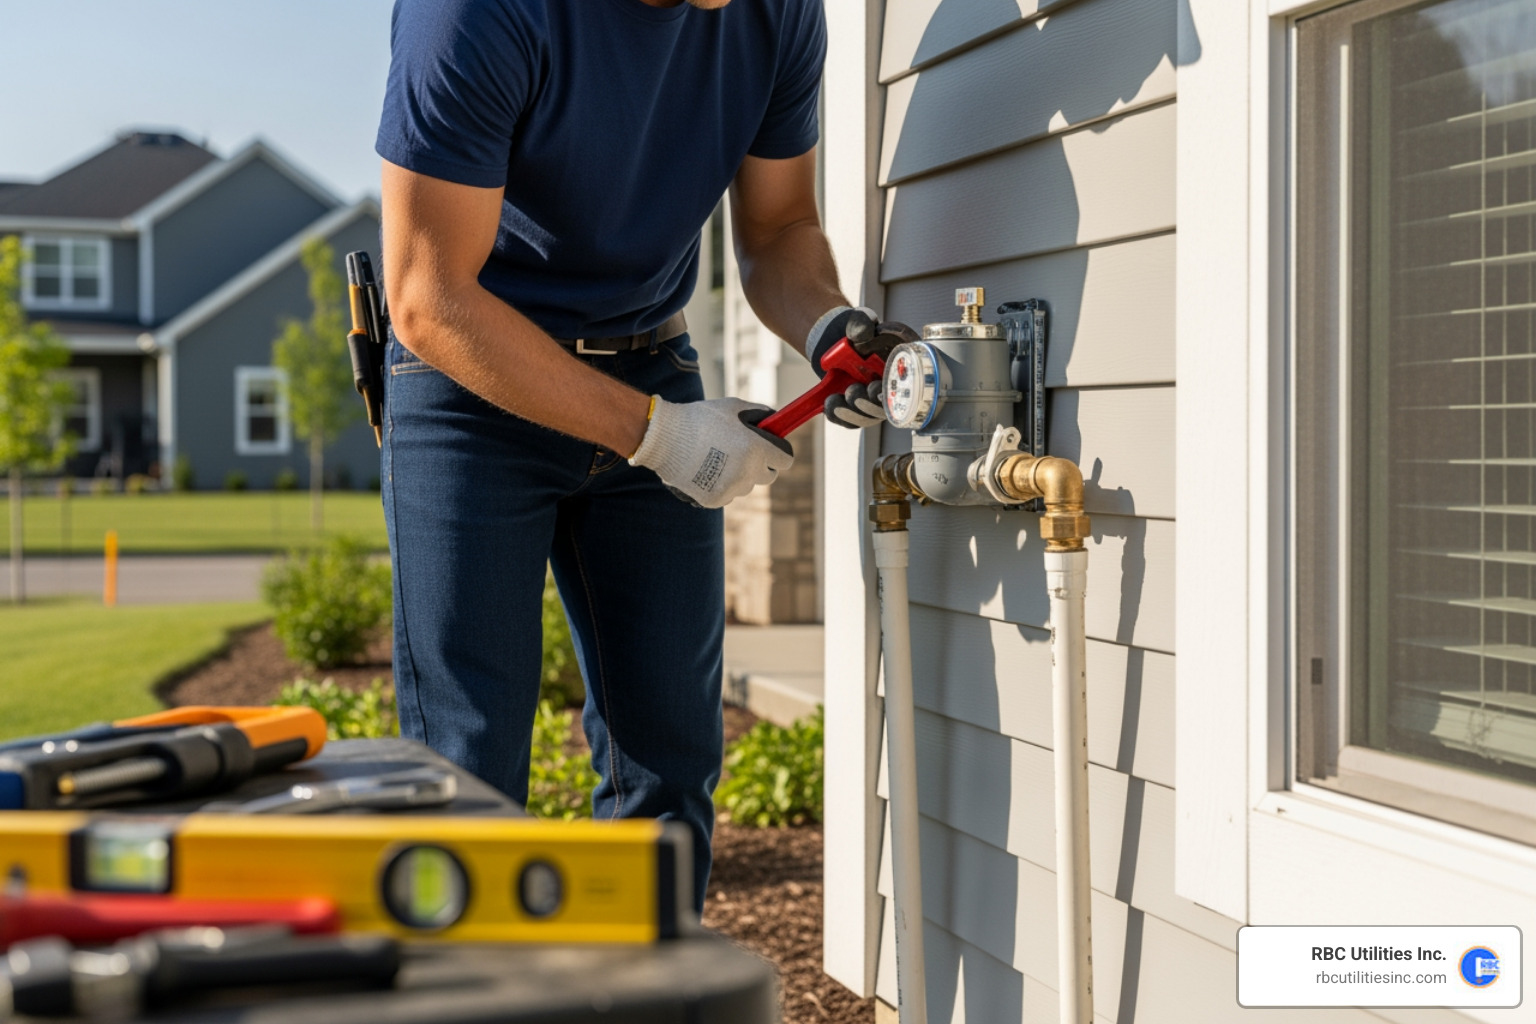
To safely transition from underground PE to above-ground metallic piping, you must use an anodeless riser. An anodeless riser is a pre-fabricated L-shaped fitting. The horizontal portion underground connects to the PE pipe using an approved mechanical or heat-fusion coupling. The vertical portion is a protective steel casing that houses the plastic carrier pipe, transitioning to a threaded metallic outlet above ground. Because the steel casing is protected by an internal plastic sleeve, it does not require sacrificial anodes for cathodic protection (hence "anodeless").
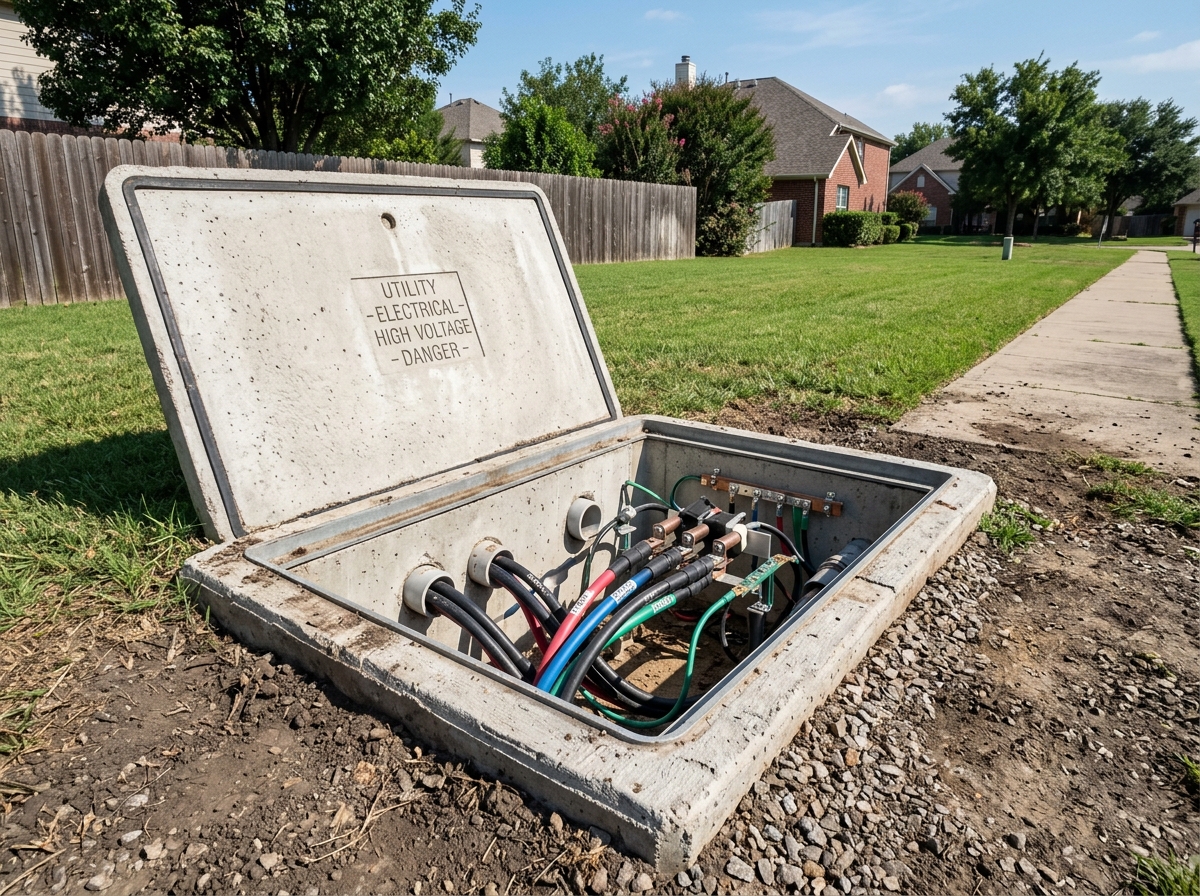
Additionally, modern safety codes require the installation of protective safety devices on residential and commercial services:
For comprehensive guidelines on meter clearances, regulator venting, and utility-side requirements, consult the Yellow BOOk .
In both North and South Carolina, the standard minimum burial depth for underground plastic (PE) gas lines is 18 inches of cover from the top of the pipe to the finished grade. For metallic (steel) piping, the minimum requirement is 12 inches of cover. If the line is installed under public roads, driveways, or areas with heavy vehicular traffic, federal regulations require a minimum of 18 to 24 inches of cover, or additional structural protection like steel sleeving.
Per the Uniform Plumbing Code (UPC) and International Fuel Gas Code (IFGC), PE pipe is strictly prohibited inside or under buildings because it has low resistance to heat, fire, and physical puncture compared to metallic pipes. If a plastic pipe under a concrete slab or inside a crawlspace leaks, the gas can pool in confined spaces, creating a massive explosion hazard. All indoor gas runs must use approved metallic piping (black iron) or flexible copper/CSST systems.
Since polyethylene (PE) is non-metallic, underground utility locators cannot detect it using electromagnetic equipment. A yellow-insulated copper tracer wire (minimum 18 AWG) must be laid directly alongside the plastic pipe. It should be taped to the pipe every 5 to 10 feet and must terminate above ground at both ends of the run (usually at the meter or equipment risers) so utility personnel can easily connect their locating transmitters.
A successful gas line underground installation is a masterclass in safety, precision, and code compliance. From calculating the exact BTU load of your appliances to digging a perfectly bedded trench and executing a flawless 10 psi pressure test, every single step requires absolute attention to detail. Cutting corners on materials, burial depth, or safety devices isn't just a code violation — it's an immediate safety hazard.
While a "hybrid DIY" approach (where you dig the trench yourself to save on labor) can work for simple backyard projects, the pipe laying, riser transitions, pressure testing, and final live tie-ins should always be handled by certified professionals.
At RBC Utilities, Inc., we bring decades of Carolinas-specific expertise to every underground infrastructure project we touch. Whether you are expanding a commercial facility in Charlotte or installing a residential utility network in South Carolina, our team ensures your systems are built to last.
Ready to get your underground utility project done right? Explore Our professional utility services and let’s build something safe and reliable together.
Part of Saga Infrastructure, protecting what others built and helping it grow.
Address: 4404 Stuart Andrews Blvd., Suite K, Charlotte, NC 28217
Email: info@rbcutilities.com
Phone: 803-913-9727
Service Area: North Carolina | South Carolina